 Loading... Please wait...
- Home
- Printing Service
- 3D Design
3D Design
How it works
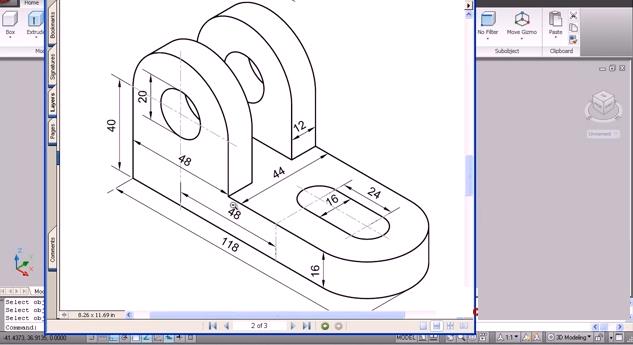
Step 1: Starts with a concept – The first stage is to sketch your idea of design.
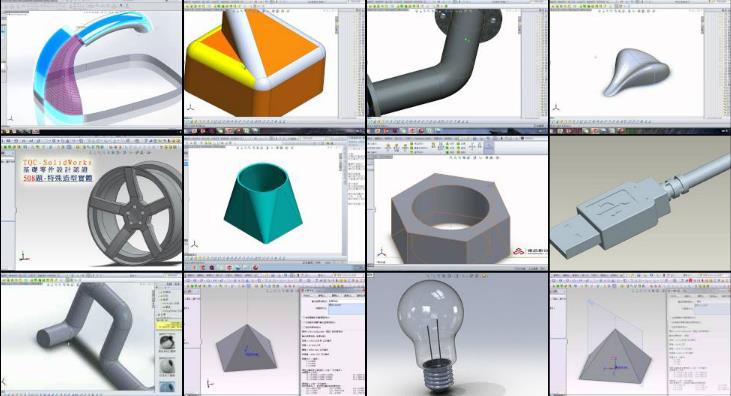
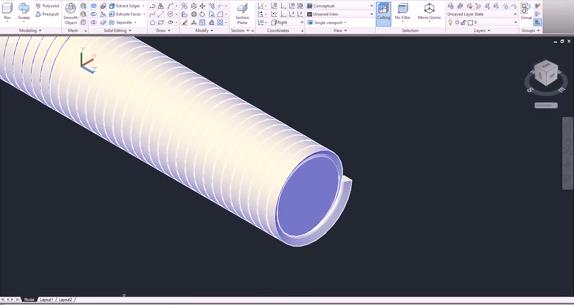
Step 2: Digital modeling – To produce a 3D model using CAD software or animation modeling software. The software may provide some hints to the structural integrity and landscape versus portrait orientation of the finished product.


Step 4: Transfer to 3D printer and STL File Manipulation – We will transfer the STL file to the computer that controls the 3-D printer. There, the user can designate the size and orientation for printing.
Step 5: Machine Setup – Each machine has its own requirements for how to prepare for a new print job. This includes refilling the polymers, binders and other consumables the printer will use. It also covers adding a tray to serve as a foundation or adding the material to build temporary water-soluble supports.
Step 6: Build – Let the machine do its thing; the build process is mostly automatic. Each layer is usually about 0.1 mm thick, though it can be much thinner or thicker. Depending on the object's size, the machine and the materials used, this process could take hours or even days to complete.

Step 7: Removal – Remove the printed object (or multiple objects in some cases) from the machine.
Step 8: Post-processing – Many 3D printers will require some amount of post-processing for the printed object. This could include brushing off any remaining powder or bathing the printed object to remove water-soluble supports.
Step 9: Application – The finished product will be delivered to the customer.
Our Version : Being your partner in CAD Design, 3D Engineering and Mechanical Consultant and provide all-rounded Design Service.


